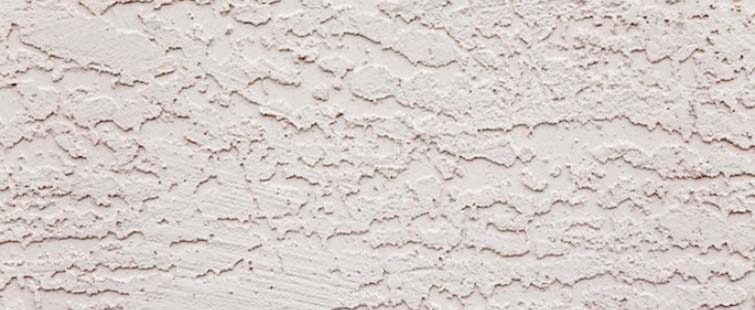
Repairing Stucco Walls

Image Credit: www.doityourself.com
Stucco as a siding material has a well-deserved reputation as a practical option. Just some of the reasons people like stucco walls are its minimal maintenance requirements, looks (many people prefer the appearance of stucco over vinyl siding because it gives a home a unique look), and great wind blocking and insulation value. However, since stucco is a cement mixture and is very hard, it can crack or even get a hole if hit with a heavy blow like a tree branch. Fortunately repairing stucco is a job a competent DIY’er can take on with confidence with quite likely the hardest part being color matching the old stucco and the repair. Here’s how to repair a stucco wall.
Stucco Cracks
Thin cracks are usually quite easy to repair and should be fixed before they become bigger. Often very fine cracks can be filled and hidden by a coat of exterior acrylic paint color matched to the original stucco color.
Cracks too thick to be filled with paint can usually be repaired with exterior latex (paintable) caulk. Choose a caulk close in color to the original stucco to fill the crack then allow it to dry before painting over the repair with color matching paint. Putting some sand on the caulk while it’s still wet can help it blend with the surrounding stucco and give it a rough surface similar to the original stucco.
Cracks too big to be fixed with caulk can be repaired using either premixed acrylic stucco patching compound available at home and hardware stores or mixing and applying the same stucco mix that was originally applied to the wall.
Stucco Holes
Repairing a hole in a stucco wall will require a little patience and some practice. The hardest part is probably going to be matching the appearance of the original stucco. Try mixing some small batches of stucco tinted to closely match the original. Applying the different batches to small boards will allow you to figure out which mixture comes closest to being a match.
After determining the proper stucco mixture the next step is preparing the damaged surface to accept the repair. Start by removing any loose pieces of stucco in the hole and it’s often a good idea to also remove some undamaged stucco around the hole to be sure you will be applying your repair to a solid wall. Use the blower outlet on a shop vacuum to get rid of any dust left behind.
If the underlying wire mesh or tar paper has been damaged you will need to get cut out the damaged area and install and firmly fasten new paper and mesh before you start.
Apply your patch in layers, first filling the hole about half full then allowing the stucco to partially dry before drawing horizontal lines in the moist repair with a pointed piece of metal. After the first layer has dried apply a second coat to within 1/8 inch of the surface and once again give it time to dry. Finish the repair by applying and texturing the final coat.
What You’ll Need
Yourself
Exterior latex paintable caulk
Paint
Sand
Stucco
Shop vacuum
Small wood boards
Paintbrush
Trowel
Gloves
NOTE: This article was cross posted from doityourself.com and the original can be read here.
Original post here: Repairing Stucco Walls
No comments:
Post a Comment